How to run a test transaction with Stripe
You can simulate a transaction by using a Stripe Connect account in "test mode". Here are steps you should follow:
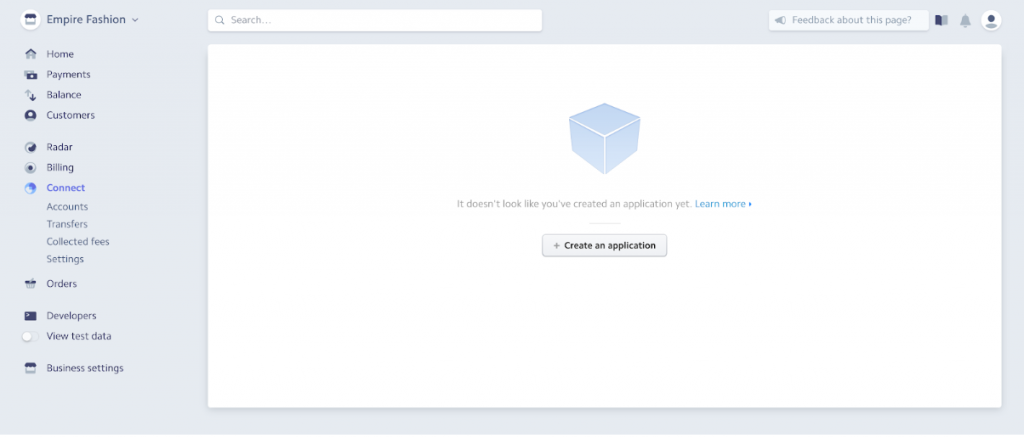
1. First, create a Stripe account here (if you don't have one already) and then create a Connect Application :

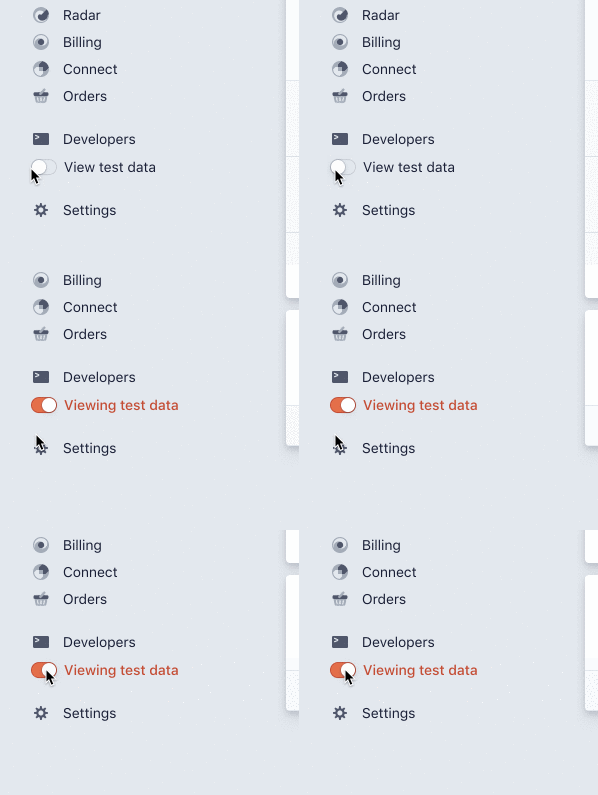
2. Stripe allows you to use either your live account or a test account with fake data to run some tests on your website. Turn your account into test mode :

3. Go to Developers / API Keys, and copy to find Publishable key and Secret key :

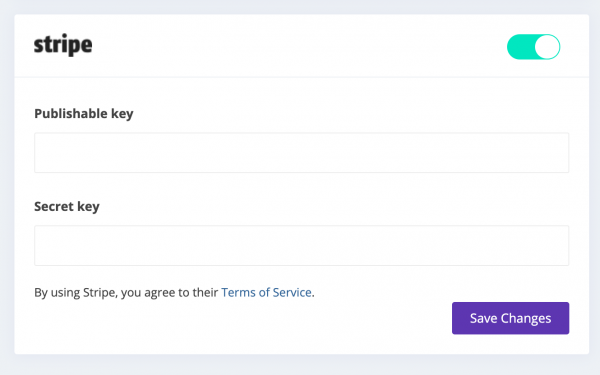
Then paste the test information in your Kreezalid admin panel in Settings / Payment providers / Stripe :

** **
Make sure to fill in both fields **before clicking on "Save".**
Once your payment gateway is set you're able to make your first transaction.
4. Go back to your front site and signup up like a regular user. We recommend you create 2 user accounts:
- one for the supplier,
- one for the customer.
Make sure to use real email addresses so you can receive the automatic emails sent at each step of the process.
5. Create your first listing with the supplier account and make sure that you fill in the identity verification form provided by Stripe after you've created the listing.
NB: An alert message will stay visible on the top of the supplier's profile until he completes his identity information and his listing will be visible but not "buyable". You can learn more about the identity verification process (KYC) here.
6. Once you're done, log in as a customer and make a reservation on the listing you've created previously.
7. To do the payment you can use this test card :

Updated on: 17/03/2023
Thank you!
