Create and manage user groups
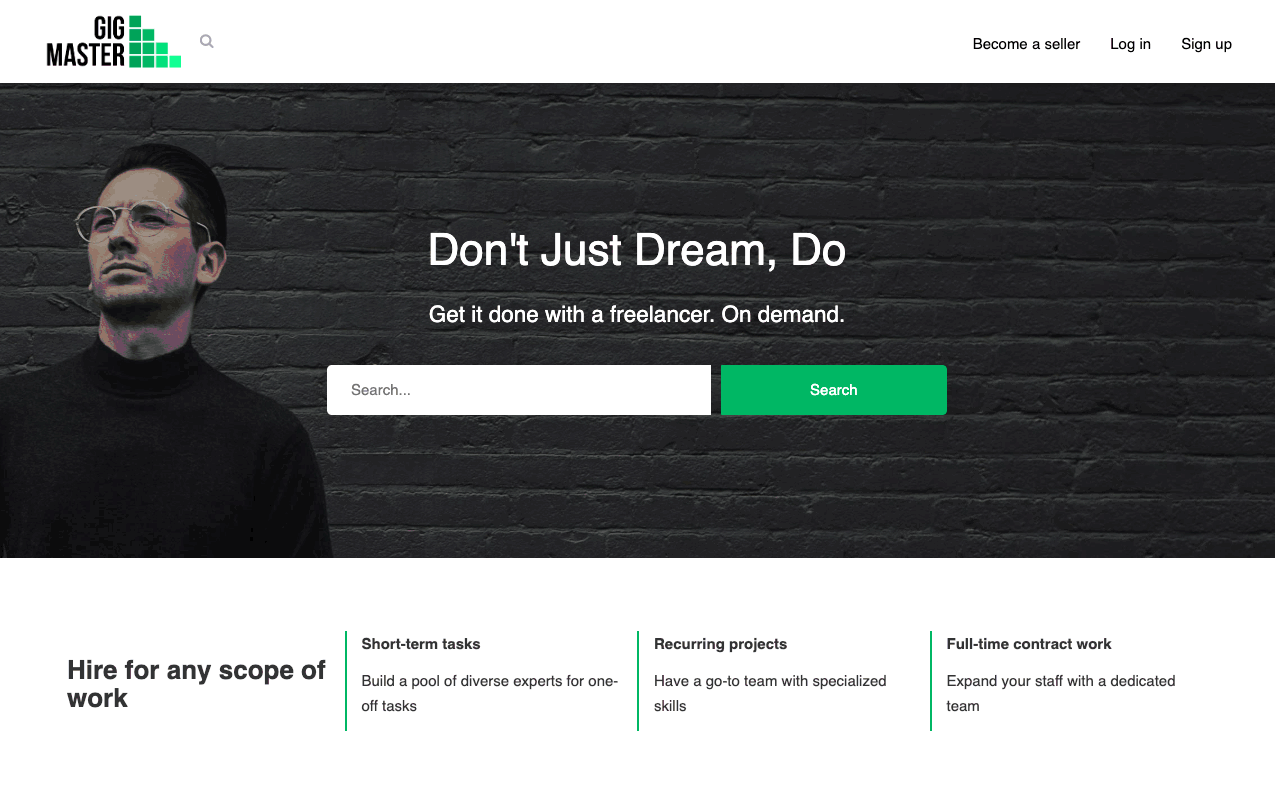
Who is allowed to post offers on my marketplace?
By default, on your Kreezalid marketplace, a customer may be a seller and a seller may be a customer. Registered and authenticated users initially have access to the listing creation form.
In order to define different publication rights according to the type of user, Kreezalid integrates the "User Groups" feature. This setting allows you to define different categories of user accounts with different publication rights. To get started go to your admin panel :
Settings> Users> User Groups
Creating "user groups" allows you to request additional information from members when filling in the signup form. For example, if the user is a company, you can request his tax number, the headquarter address, etc. Those options are called User attributes.
Creating distinct user groups with distinct signup forms
Let's say you will have two types of users:
- the providers (your sellers),
- and the customers (your buyers).
Both types will use your platform, but their roles will be different. So, usually, you'll want to allow one role or the other to perform certain actions (like creating and publishing a listing). You might also want to present them with two different registration processes.
Kreezalid enables you to do just that: you can create two (or even more) user groups with distinct roles.
Besides, you'll also be able to create specific user attributes to assign to those user groups. For instance, if you have a service marketplace, you could create relevant user attributes for your sellers, like Years of experience, or Freelancer or company to distinguish solo freelancers from agencies.
What we're going to do
In this tutorial, we're going to create two user groups :
- A Customer group, which will be able to browse and purchase listings but not create them.
- A Seller group, which will be able to create listings. We'll also add a link in the navigation menu so your visitors can easily signup to become sellers on your website. This link will lead to a special page of your marketplace that will explain in detail the benefits of becoming a seller on your marketplace, along with a call to action leading to the seller signup form. This group will have its own signup form.
Step 1 : Creating your user groups
To create your user groups, head over to Settings> Users, then click on User groups and finally click on Add user group.

The Seller group
We'll start with the seller group. After clicking on the Add user group button, you'll see the user group form.
This form lets you configure :
- User group title. Here we put "Seller".
- Is authorized to post listings. Yes.
- Type: Payment processors like Stripe and Mangopay require you to define what type of entity will be conducting business on your platform. So if your sellers will mostly be individuals, choose "Individual", otherwise, pick "Company or non-profit organization". Don't worry, this field isn't tying you to a specific type. If you plan to have both types (individual AND companies), you'll be able to do so anyway.
- Is this group visible by all users? No.
- Can users select another visible group and change? No. This will prevent your users from switching groups.
- How do you want to display the name of users of this group? Only first name.
- URL to redirect after sign up? Leave empty to let us choose the best URL depending on the user navigation. Put "/listing/new". This will redirect the users to the listing creation form right after signup.
- Is active. Yes
Next, the Customer group.
The Customer group
- User group title. Here we put "Customer".
- Is authorized to post listings. No.
- Type: Most of the time, use "Individual".
- Is this group visible by all users? Yes.
- Can users select another visible group and change? No.
- How do you want to display the name of users of this group? Only first name.
- URL to redirect after sign up? Leave empty to let us choose the best URL depending on the user navigation. Put "/listings". This will redirect the users to the main listing page right after signup.
- Is active. Yes
Now it's time to configure the forms for your user groups.
Step 2 : Configuring sign up forms
To configure your user signup forms, head back to Settings> Users. Click on the Manage sign up form fields.

You'll see the default fields, common to all user groups: first name, last name, username, email, password and password confirm. Clicking on the name of a field will open its configuration form. For each field, you can configure:
- Ask for this field? Whether to display this field in the signup form or not. You have the option to disable all fields except email and password.
- Label. The text that will appear above the field.
- Placeholder. If you want to provide an indication when the field is empty.
- CSS class. This lets you add a custom CSS class if you want to customize the look of your field.
- Required. Whether to make this field required or not.
- Pattern. Enter an input pattern if you want to control the format of the text entered by the user. For example, you could forbid the use of numbers in the first and last name fields.
- Maxlength. The maximum number of characters allowed in the field.
- Sort priority. The order in which to display the field. The lower the number, the higher the field will show in the form.
Here's how we configure the default fields of our signup forms:
Field first_name last_name username email password password_confirm Ask for this field? Yes Yes No Yes Yes Yes Label First name Last name Email Password Confirm password Placeholder Enter your first name Enter your last name Enter your email address CSS class signup-fname signup-name signup-email signup-password signup-password Required Yes Yes No Yes Yes Yes Pattern Leave blank Leave blank Leave blank Leave blank Leave blank Maxlength Leave blank Leave blank Leave blank Leave blank Leave blank Sort priority 1 2 3 4 5 6
Now, our Customer signup form is done, the default fields are enough.
What we want though is to add extra fields to the Seller signup form. This is done by creating user attributes for the Seller group.
Step 3 : Adding extra signup fields by adding user attributes
In the Seller signup form, you might want to ask the users for extra information during sign up. For instance, you could ask whether they are signing up as an individual or on behalf of a company. You could also ask them to specify their experience level.
Let's see how to do just that. First, head over to Settings> Users> User attributes.

Next, click Add user attribute. On the customer attribute form, you'll find almost the same input fields as on the Manage sign up form fields page. With one exception: you have the Type field, which lets you specify what kind of form input you want for your user attribute (short text, yes or no question, dropdown list, checkbox, date, etc.).
First, let's add the field "Entity type":
- Title. Put "What type of entity are you?"
- Type. Choose "Dropdown". Once you do, you'll see new form fields allowing you to specify the dropdown list options. Put "Freelancer" as first option, and "Agency" as second option.
- Required field. Choose "Yes".
- Display on the user's public profile. Choose "No".
- Visibility. Choose "On signup form & profile edition form".
- Sort priority. Put "0". Note that this affects the sort order only between the fields corresponding to user attributes (not the default form fields).
- User groups. Assign this user attribute to the Seller group.
Click save. Next, add the "Experience" field.
- Title. Put "How many years of experience do you have"
- Type. Choose "Number".
- Required field. Choose "Yes".
- Display on the user's public profile. Choose "Yes".
- Visibility. Choose "On signup form & profile edition form".
- Sort priority. Put "1".
- User groups. Assign this user attribute to the Seller group.
Click save.
Once you're done, here's how your seller sign up form will look like:

Step 4 : Creating a specific page for seller sign up
The last step of our tutorial is to create a specific page for your sellers to signup. This can be easily done in your admin dashboard. Go to Settings > Pages > Add page.

On this page, you'll find the page creation form. It's a straightforward form that lets you create any page you'd like using a simple WYSIWYG editor and optionally upload a featured image.
For our example, we'll fill the form like this:
- Page name. This is just the name you'll see in your dashboard. Put "Become a Seller".
- Page title. This is the title which will be displayed on the page header.
- Content. Here, it is up to your creativity. You can use the toolbar buttons to format your text or edit directly the HTML by clicking on the "< >" button. Here is the code we use for our example. You can copy this code and edit it to get started.
<div class="row">
  <div class="col-md-6">
    <img src="https://cdn.kreezalid.com/kreezalid/546004/files/986913/undraw_design_tools_42tf.png" alt="" />
  </div>
  <div class="col-md-6">
    <h2>Fire up your freelance career</h2>
    <p>You design. We’ll handle the rest. Do what you love, and get paid for it on Wild Spirit. Find awesome clients and become a part of our global community of talented designers—all in a safe, secure workspace.</p>
    <p><a class="btn btn-primary" href="/register/seller">Join our community</a></p>
	</div>
</div>
Did you notice? We created the call-to-action button by adding a link to the /register/seller path. How do we know the path to the seller signup form? Easy, you can find the link to each of your signup forms right at the top of the edit form of that user group in your dashboard:

- It's optional (but highly recommended) to also fill the Search engine optimizations fields.
- Lastly, select "Online" visibility and add a nice featured image.
You're almost done. There is one final step: adding a link to the page we just created in the navigation menus of your website.
Step 5 : Adding a link to seller sign up in the navigation menus
To configure your menus, go to Settings> Navigation. There, you'll see two menus, to which you can add a link to any of your marketplace pages: the main menu (at the top of the website) and the footer menu.
Click on Main menu, then on Add menu item. A new menu entry will appear. Put "Become a seller", and select the page you just created. Click Save Changes.

You can repeat this process for the footer menu if you'd like to also add a link there.
Here's the final result:
Et voilà! You now have two different types of users, a signup form for each type and a nice landing page for sellers to sign up.__
Updated on: 02/05/2023
Thank you!